Tuesday, February 28, 2012

Seed are SPROUTING!!

I decided to try starting seeds inside for the first time ever. I went to Home Depot(I need to be banned from that store!) and picked up starting trays for $5 each.

Since I'm doing my Terra-Fresh Experiment I decided to start 2 identical trays. I figure too many plants is better than not enough.

Tray Layout:

Tomato    Tomato     Salvia    Salvia     Salvia     Lemon Balm

Tomato    Tomato     Salvia    Salvia     Salvia     Lemon Balm

Tomato    Tomato     MOT    Tyme      Coral Bells     Lemon Balm

Tomato    Tomato     MOT    Tyme      Coral Bells     Lemon Balm

Tomato     MOT      MOT     Tyme     Coral Bells     Watermelon

Tomato     MOT      MOT     Tyme      Coral Bells     Watermelon

Each sets were started identically except the TF one was given 1drop of TF in 1/2 gallon water. Each were given 5 1/2 C of water to start off with.


I put both sets in the dark closet with the hot water heater. I noticed seeds starting at day 2!!

Once the maters and watermelon got tall enough to touch the top of the set I took the top off and turned the overhead (daylight bulb) light on for 12-16hrs a day.

As of right now the only thing that isn't sprouting in the TF container is the Coral Bells. The "control" container looks good too but has considerably less growth and has about 20% less started seeds.

Terra-Fresh:


Control:


Other Updates:
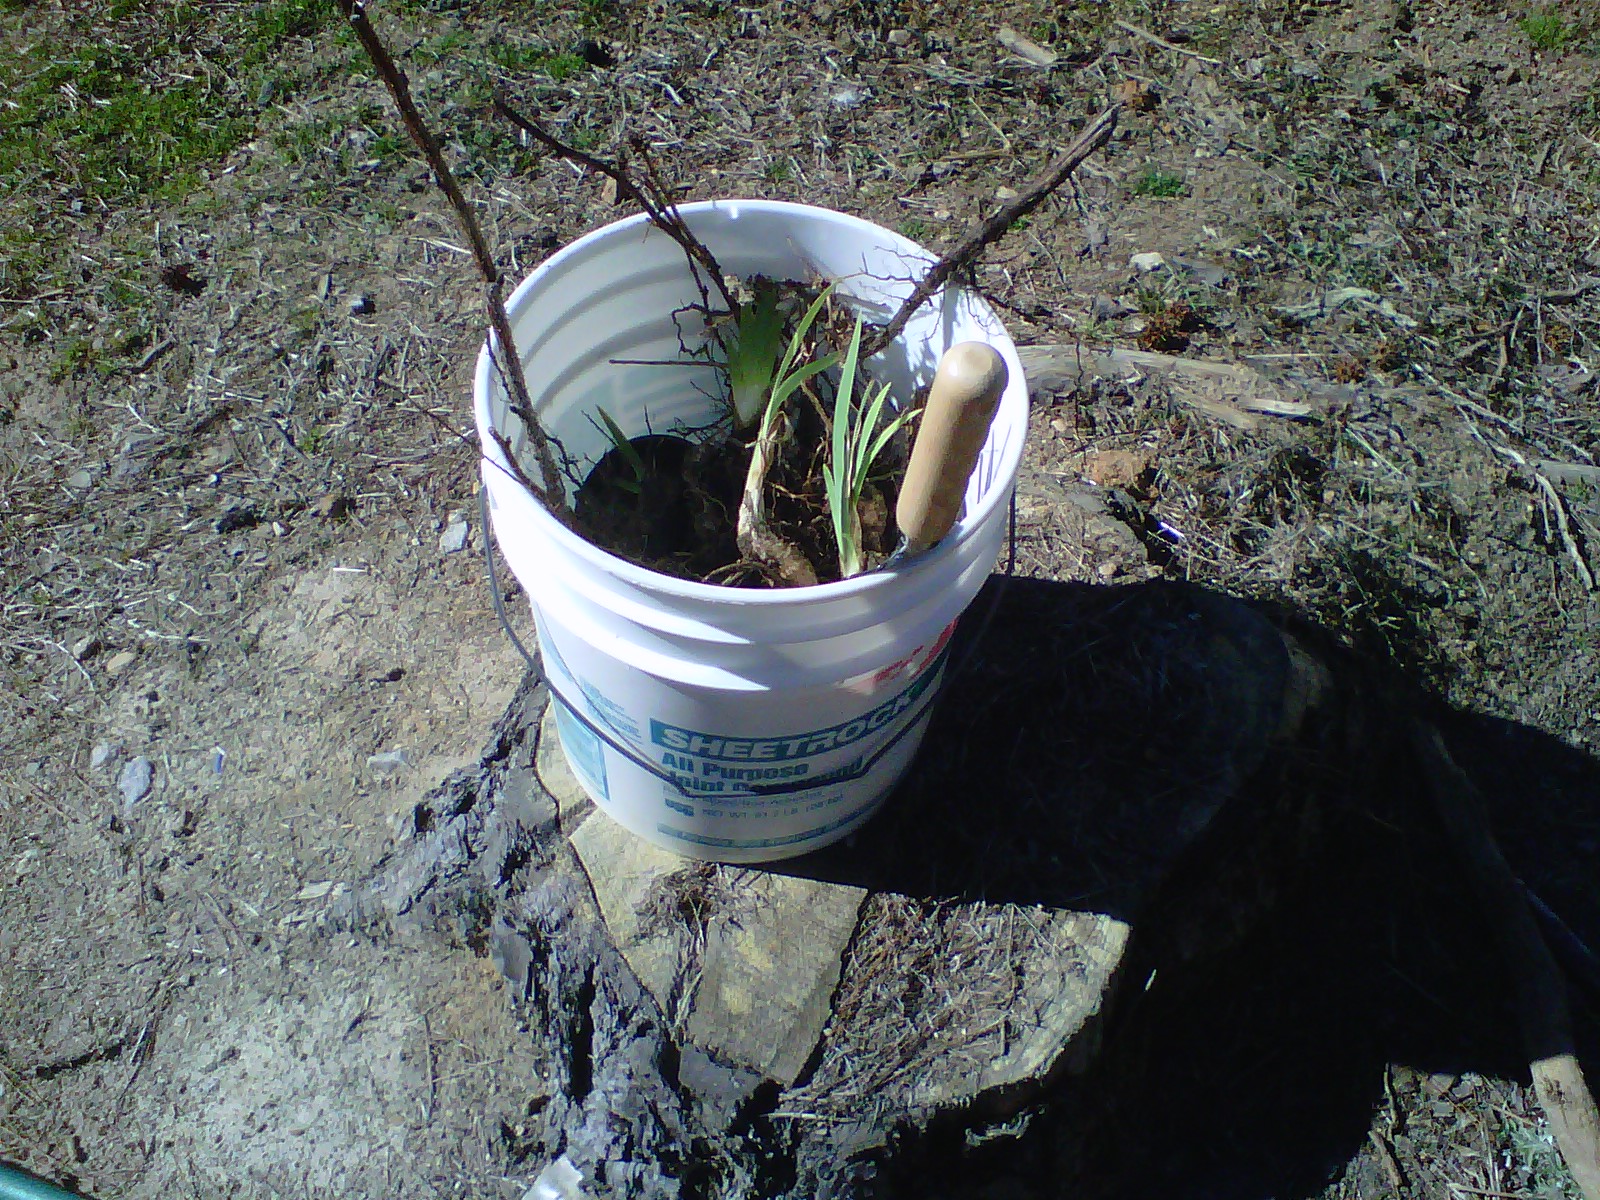
- A coworker generously gave me a bunch of 1yr old grape vines so I'll be adding grape trelliss to the yard in the next week or so.


- I'm planting my taters, spring onions, and carrots this week. I am going to show y'all a new way to grow taters to get more per plant.

- Chicken Stock recipe coming this week or this weekend!!! I need more and LOVE the way my house smells.

Friday, February 17, 2012

Terra-Fresh Experiment

A friend of mine has a son in Idaho that is part of the Terra-Fresh project. She recently went for a visit and brought me back a very small container of this product. I was told that it was free as long as I promised to test it on HALF of my garden and take pictures to document.

I will tell you right now I LOVE stuff like this and can't WAIT to try it.

You use ONE DROP per gallon to water the plants. They also show on some videos and information on the website soaking the roots in the diluted solution before planting. They also show how you can put 1 drop of the diluted solution on the seeds and have incredible results.

I'm starting a bunch of seeds inside next week so this will be a fun experiment and I promise lots of pictures. I also can't wait to try it outside. I wish I had seen the root soaking before I planted the raspberries but oh well.

Since my raspberries are all planted in a row together it will be hard to keep only certain ones watered with terra fresh but I will see what I can do.

They ask that I am consistent so if I use the solution once, twice, or three times a week to keep it up throughout the growing process.

Whats even better is its 100% natural and my friend's son says he puts a drop in his coffee.....I'm not THAT brave but I'm eager to try it on the plants and document the results.

Almost everything I'm planting will be part of the experiment. The only one I'm a little hesitant to try the control on is the strawberries. I am using them in the front of my house in my flower beds I don't one side to be awesome and the other to be sad.....any ideas on how to fix that??

If anyone wants to read more or join the experiment: Terra-Fresh

Monday, February 13, 2012

Gardening, gardening, and more gardening


Last year I moved into this property too late to do any real gardening. I made some improvements but nothing like I really wanted. This year I've been planning for months! Last year I planned out my garden and put up a border.....then I got my seed catalog. Now I have a NEW garden plot and the old one is going to be for flowers. LOL

So I got the tiller out and have been breaking up the ground, fertilizing, and planting. I won't be able to plant much for another few weeks but this is what I have so far:
 This is the previous garden spot which will now be the flower garden:
(Pepper being a good model!)

The garden measured off by fence posts before tilling.


The ever frustrating 5' STUMP in my backyard! I actually think I'm going to put this to good use this year. I'm going to string wire over it and grow my vine green beans on it. It will cover it up and allow me to have many different kinds of green beans. YAY 


This is in front of the house. I know it looks rough but its winter. I'll be putting in my strawberries in front of the gardenias and then mulch.
 Please excuse the bucket.  I catch the drip from the window AC and use it to water the plants.


This is my ROCK GARDEN. UGH If nothing else this year I'll have PLANTS out front!! I ordered a lot of drought tolerant and very resilient seeds to plant out there. Hopefully in a few months you won't recognize it.


This is where all my cosmos will be going. I ordered the variety that get 4-5' tall!! It will be a gorgeous border between my yard and my neighbors. 

First till of the garden.

The LOAD of old horse manure and bedding.


This was spread out over the garden, flower garden, raspberry area, front "yard", and compost pile.


Lets get to the raspberries! I know the bucket doesn't look like much but it holds my Lillies, Raspberries, and Cannas. I'm still not sure where the cannas are going. I'm pretty sure most are going to my mom's beach house. They'll love it there.


So one last till before the raspberries go in:


Now I know it doesn't look like much but the raspberry canes are in! Next was to put wire around them so they won't fall over from the weight of the berries. My first crop will be this fall.


The Lillies went out front in the rock garden. I didn't take a picture because right now it doesn't look like much. LOL

Thursday, February 9, 2012

Spaghetti Pie....and dessert of course


Spaghetti Pie is one of my all time favorite recipes to make. My mom has made this for us since we were young. I've altered it a little since then but it will always remind me of when I was a kid.

I made this last night for the Rescue Squad dinner so the recipe is tripled but I'm going to give instructions for one batch.

First take 1.5lbs of ground beef (or half sausage like I do), some chopped onion, chopped bell pepper, about 2tsp of Italian seasoning and 1tsp of garlic salt and put it in a pan to brown.

Brown for 20 minutes:


All finished:


While the meat is browning cook 12oz of spaghetti al dente. Nothing is worse than mushy pasta.

Dump the pasta in a bowl with 1/2 C of Parmesan cheese, 3Tbsp butter, and 3 scrambled eggs(Duck eggs are the best for cooking!)


Pour into greased baking/pie pan. Top that layer with 1 1/3 C of cottage or ricotta cheese.


DRAIN the meat mixture and add on top of pasta and cheese.


Top with pasta sauce(8-16oz to taste) and bake at 350 for 30 minutes.


Sprinkle 2C Mozzarella cheese on to and bake for another 10 minutes. Voila!


I serve with garlic bread and really enjoy my leftovers. I know you guys won't believe me but it really is good cold the next day. Speaking of....its about lunch time!

Mac McQuown - Marine Walking

Yesterday I was honored to meet Mac McQuown. This is a Marine walking over 15,000 miles to raise awareness for veterans. He stayed at our Rescue station last night and ate dinner with the rescue squad before our meeting.

Mac was polite, gracious, and has a long road ahead of him. He sat around and told his story and answered hundreds of questions from all of us. Mac struck out for Wake Forest FD this morning and tomorrow he will head to the Capital and stay at Station 1 Raleigh FD.  He is heading to FL on this leg of the trip. He projects it will take about 5-6 years to finish this mission. His goal is to raise awareness for veterans and raise money for homeless veterans.

Since its tax time if you are looking for somewhere to donate this year I can't suggest a better place!!

To read Mac's story, donate, or keep track of him by GPS go to:
http://www.projectfoot.org/marinewalking.htm

Tuesday, February 7, 2012

Homemade Butter

Nothing beats homemade butter! I make mine with raw cream but you can use full fat heavy cream from the store.

I'll be the first to tell you that I'm a cheater! I use my wonderful counter-top mixer. Pour in at least a pint of cream.You'll want the cream to be at LEAST room temperature but I typically put it in a bowl of hot water for 10-15 minutes. The warmer the cream the better the fat separates.


Turn the mixer on Medium and cover with a tea towel.


Let it run until you hear it start to thicken. The first time you make it you'll run and check on it every 5 minutes....this is normal. I have found it takes anywhere between 15-30 mintues.

You'll see the butter clumps:


Once you get as much butter as you can then you will strain the butter. KEEP the left over milk...you now have fresh buttermilk and personally I go ahead and bake 2 Buttermilk pies. It makes a world of difference.


Then put your "paddle attachment" on the mixer to form the butter and rinse it. Run it for about 2-3 minutes to squeeze any excess buttermilk out.


Pour in about 1.5 cups of ICE water and mix for another 2-3 minutes. Strain the butter. Repeat until the water is clear. Salt to taste.


Use the paddle to form a ball. Then put in containers for the refrigerator or freezer.